
Incorporating custom voiceovers and stock footage into your YouTube videos is a powerful way to elevate your content’s quality and engage your audience. Whether you’re creating tutorials, product reviews, or storytelling videos, these elements can make your content more dynamic and professional. This guide will show you how to seamlessly integrate custom voiceovers and stock footage into your YouTube videos, even if you’re not an experienced editor.
Why Use Custom Voiceovers and Stock Footage?
1. Enhance Video Quality
Professional voiceovers and high-quality stock footage can significantly improve the overall production value of your videos, making them look polished and engaging.
2. Save Time and Resources
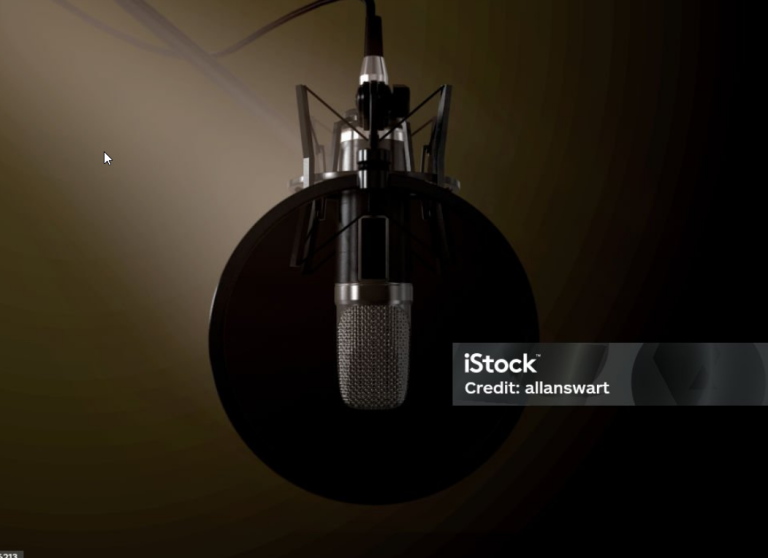
Using stock footage allows you to create compelling visuals without the need for extensive filming. Custom voiceovers can replace on-camera narration, saving time and effort, especially if you’re working solo.
3. Create Consistent Branding
Custom voiceovers enable you to maintain a consistent tone and style across your videos, while stock footage can provide cohesive visual elements that reinforce your brand identity.
Step-by-Step Guide to Adding Custom Voiceovers and Stock Footage
Step 1: Choose the Right Tools for Voiceovers and Stock Footage
Voiceover Tools:
- Murf.ai: Offers realistic AI-generated voices in various languages and styles, perfect for professional narration.
- Speechelo: Converts text into natural-sounding voiceovers with options to adjust tone and pitch.
- Audacity: A free, open-source audio editing tool for recording and editing custom voiceovers.
Stock Footage Sources:
- Pexels and Pixabay: Free high-quality stock videos for various themes.
- Storyblocks: A premium library with a wide range of exclusive stock footage.
- Envato Elements: Offers unlimited downloads of stock footage, music, and templates with a subscription.
Step 2: Script and Record Your Voiceover
Writing Your Script:
- Start by outlining the key points you want to cover in your video.
- Write a conversational script that flows naturally and complements the visuals.
- Keep your sentences short and clear to ensure the voiceover is easy to follow.
Recording the Voiceover:
- Using AI Tools: Enter your script into a tool like Murf.ai or Speechelo. Customize the voice, tone, and speed to match your video’s style. Generate the voiceover and download the audio file.
- Recording Manually: If you prefer using your own voice, use a tool like Audacity. Record in a quiet space with a good quality microphone. Edit the recording to remove any background noise or mistakes.
Step 3: Select and Download Stock Footage
Based on your script, identify the types of visuals you need. Look for stock footage that complements your voiceover and enhances the storytelling.
- Search by Keywords: Use specific keywords related to your topic to find relevant footage.
- Check Licensing: Ensure that the footage you select is licensed for YouTube use. Most platforms like Pexels and Storyblocks offer royalty-free footage, but it’s always good to double-check.
Step 4: Edit Your Video with Voiceovers and Stock Footage
Editing Tools:
- Adobe Premiere Pro: A professional tool for advanced video editing, ideal for integrating multiple elements like voiceovers, stock footage, and graphics.
- Final Cut Pro: Great for Mac users, offering powerful editing features and a user-friendly interface.
- DaVinci Resolve: A free alternative that provides professional-grade editing and color correction tools.
Step-by-Step Editing Process:
- Import Media Files: Import your voiceover, stock footage, and any other media into your editing software.
- Align the Voiceover with Visuals: Drag the voiceover file onto the timeline and align it with your stock footage clips. Ensure that the visuals match the narration, creating a cohesive flow.
- Trim and Adjust Clips: Trim your stock footage clips to fit the length of the voiceover. Adjust the timing of each clip to emphasize key points in the narration.
- Add Transitions and Effects: Use transitions between clips to maintain a smooth flow. Add effects like text overlays or motion graphics to highlight important information.
Step 5: Enhance with Background Music and Sound Effects
Choosing Background Music:
- Select music that complements the tone of your video without overpowering the voiceover.
- Use platforms like YouTube Audio Library, Bensound, or Epidemic Sound for royalty-free music.
Adding Sound Effects:
- Sound effects can enhance the viewing experience by adding emphasis to specific actions or transitions. Use them sparingly to avoid distracting the viewer.
Balancing Audio Levels:
- Ensure that the voiceover is the primary focus by lowering the background music volume. Use your editing software’s audio mixing tools to balance all audio elements.
Step 6: Export and Optimize for YouTube
- Export Settings: Export your video in a high-resolution format, such as 1080p or 4K, with a suitable bitrate to ensure quality.
- File Format: Use MP4 format for a good balance between quality and file size.
- Thumbnail Creation: Create a custom thumbnail that includes visuals from your video and clear text. Use tools like Canva to design eye-catching thumbnails.
Step 7: Upload and Optimize for SEO
- Title and Description: Write an engaging title that includes relevant keywords. In the description, provide a summary of your video, including timestamps and links to related content.
- Tags and Categories: Use specific tags that relate to your video’s content. Choose the appropriate category to help YouTube recommend your video to the right audience.
- End Screens and Cards: Use end screens to promote related videos and encourage subscriptions. Add cards throughout your video to link to other relevant content or playlists.
Tips for Creating Professional-Looking Videos
1. Maintain Consistency
Keep your voiceover style, background music, and visual elements consistent across all your videos to create a cohesive brand identity.
2. Engage with Your Audience
Encourage viewers to interact by asking questions, prompting comments, or including calls-to-action in your voiceover and on-screen text.
3. Analyze and Improve
Use YouTube Analytics to track the performance of your videos. Pay attention to metrics like watch time and engagement to understand what resonates with your audience and refine your content strategy. Ready to take your YouTube videos to the next level? Start integrating custom voiceovers and stock footage today and see the difference in your content quality! Explore Tools Now